I watched Alien again a few days ago, and I decided to cobble together an in-universe prop. I decided to make it out of found parts and get creative with it. After going through my materials room I found an old dvd drive, some reflective tape, a pile of transfer lettering, and a half used can of Safety Orange spray paint. I figured that would add up nicely to doing a flight recorder unit, perhaps the one in the escape shuttle.
After cleaning up the outer casing and removing a few labels, I shot it with several coats of paint and set it out to dry. While that was drying I fired up photoshop and put together a few labels and graphics. I did some research on avionics equipment plates until I found a Boeing manufacturing plate that could be adapted to the prop.
Once the paint was dry I cut out and attached the labels and the tape, then dug around in a bin of 20 year old letraset transfer letters until I found a few sheets that would work for laying out the markings on the prop.
When all the graphics were in place I went to work on the paint with sand paper and steel wool to scuff it up and wear it down. I used an old piece of sponge and some watered down acrylic paint to add a few washes of grime to it and that was it.
I'm pleased with the results and it didn't take more than an afternoon to put together. Now on to the photos
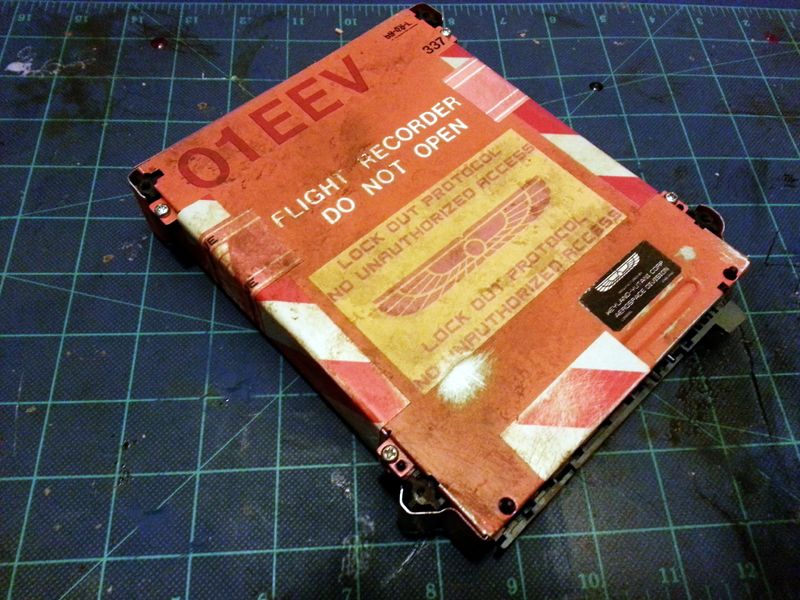
TopImage may be NSFW.
Clik here to view.
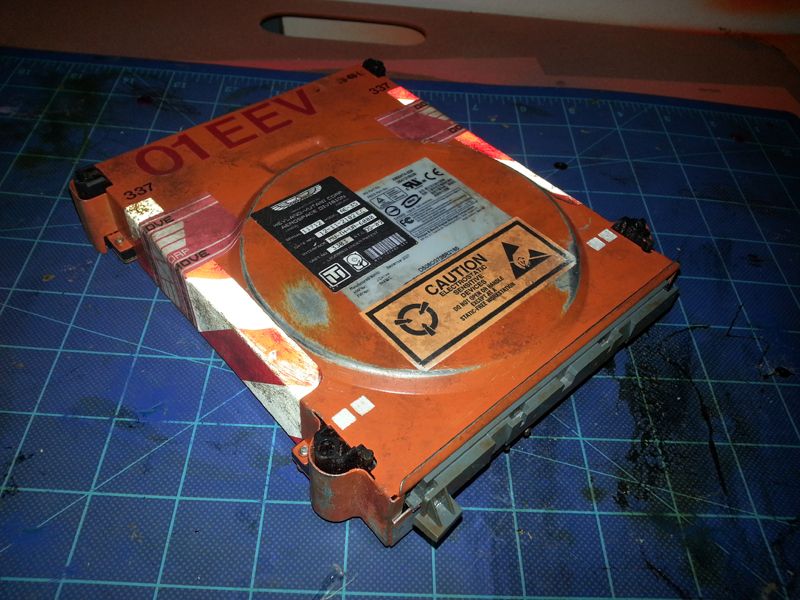
Bottom
Image may be NSFW.
Clik here to view.
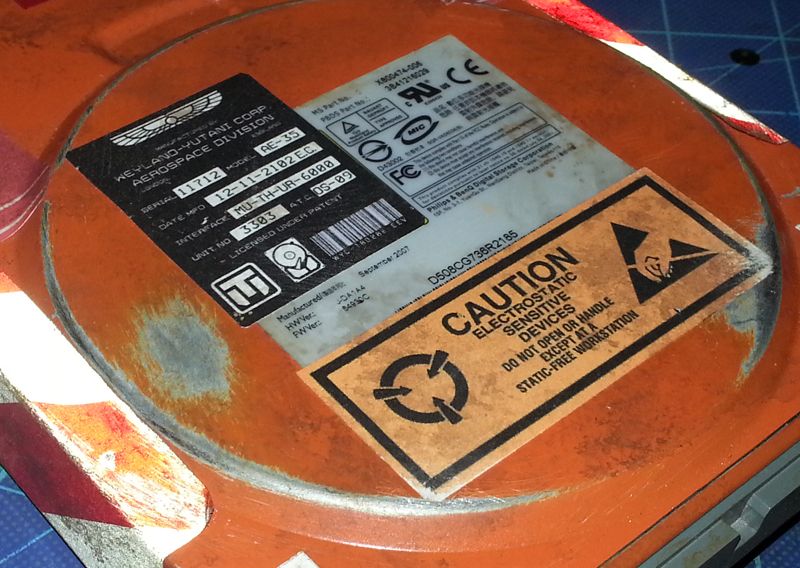
Close up of the decals
Image may be NSFW.
Clik here to view.
After cleaning up the outer casing and removing a few labels, I shot it with several coats of paint and set it out to dry. While that was drying I fired up photoshop and put together a few labels and graphics. I did some research on avionics equipment plates until I found a Boeing manufacturing plate that could be adapted to the prop.
Once the paint was dry I cut out and attached the labels and the tape, then dug around in a bin of 20 year old letraset transfer letters until I found a few sheets that would work for laying out the markings on the prop.
When all the graphics were in place I went to work on the paint with sand paper and steel wool to scuff it up and wear it down. I used an old piece of sponge and some watered down acrylic paint to add a few washes of grime to it and that was it.
I'm pleased with the results and it didn't take more than an afternoon to put together. Now on to the photos
TopImage may be NSFW.
Clik here to view.
Bottom
Image may be NSFW.
Clik here to view.
Close up of the decals
Image may be NSFW.
Clik here to view.