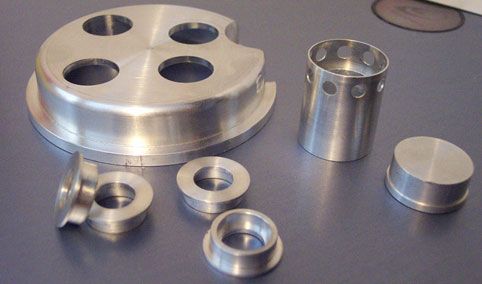
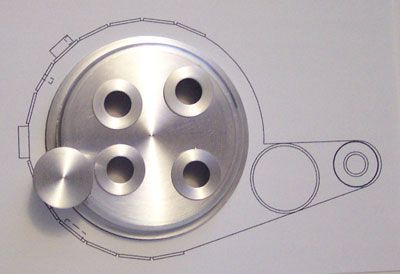
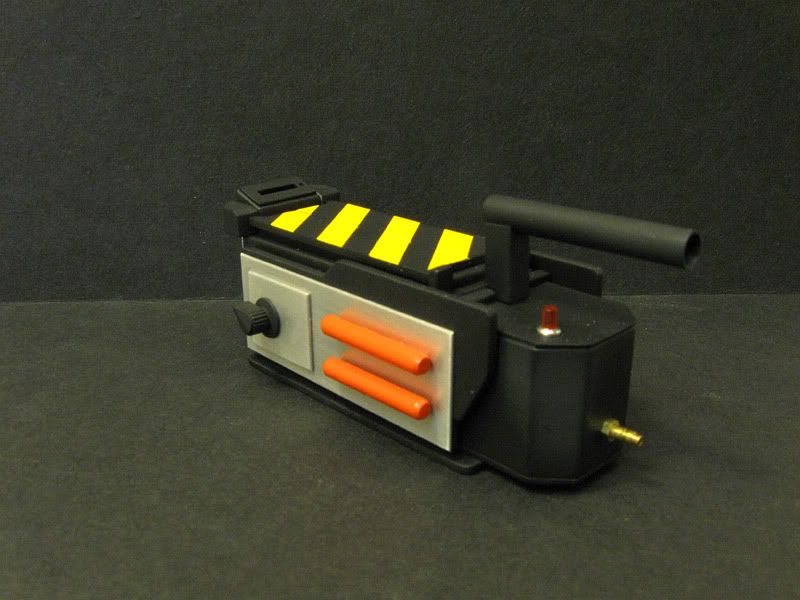
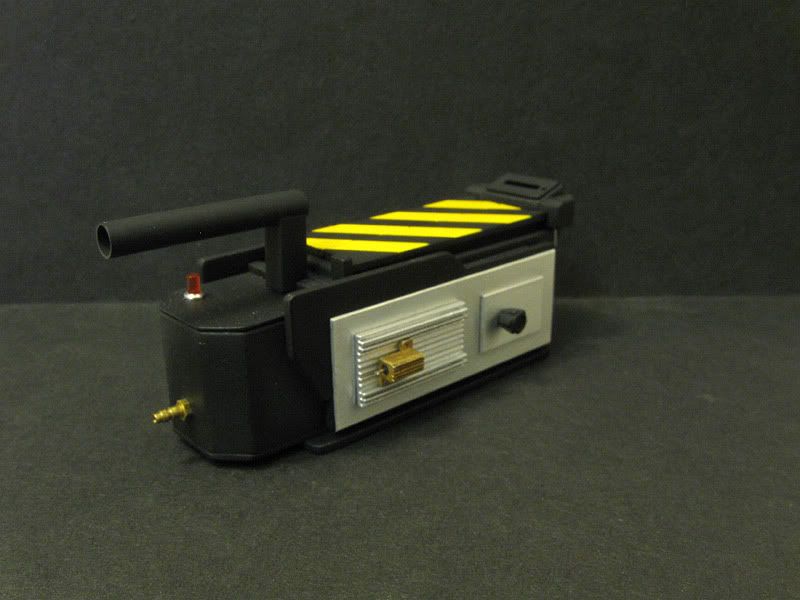
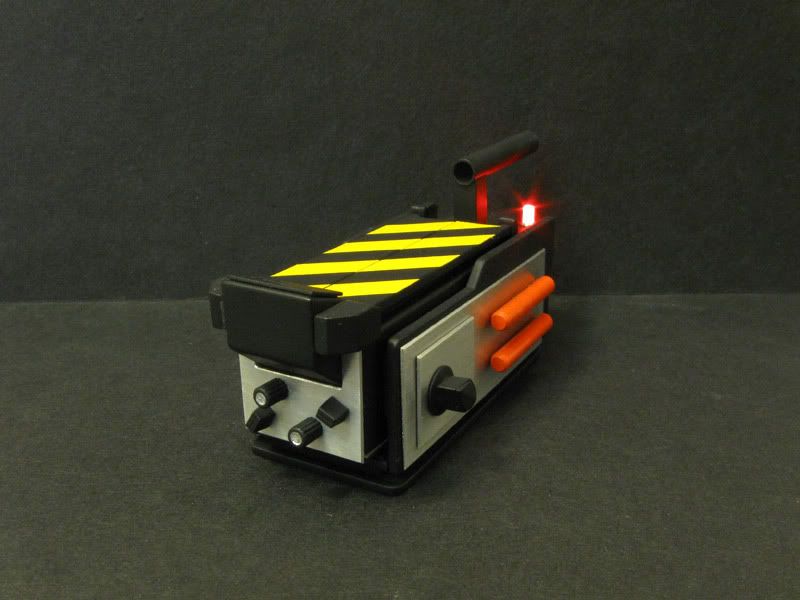
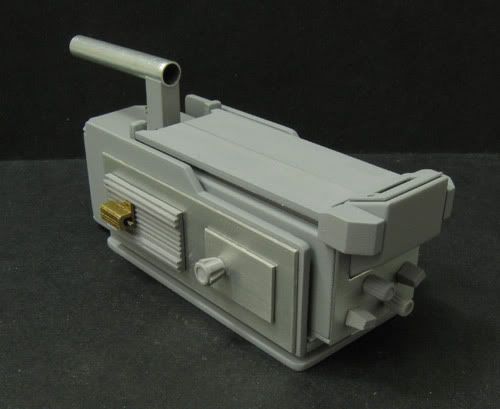
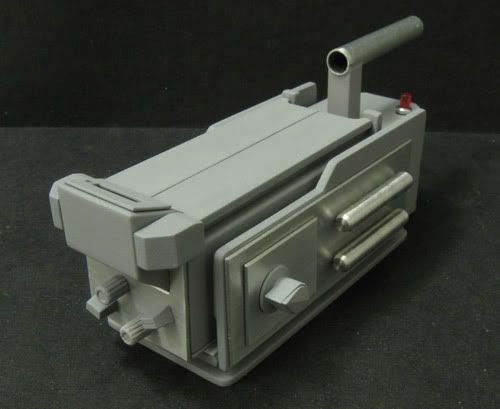
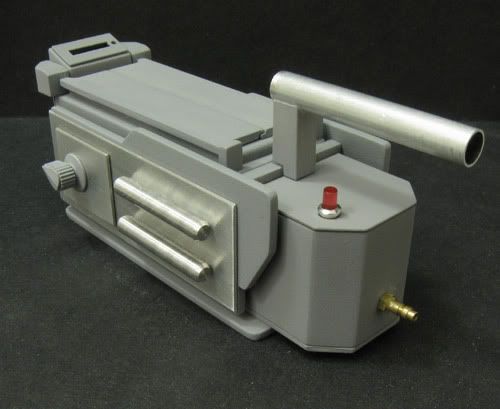
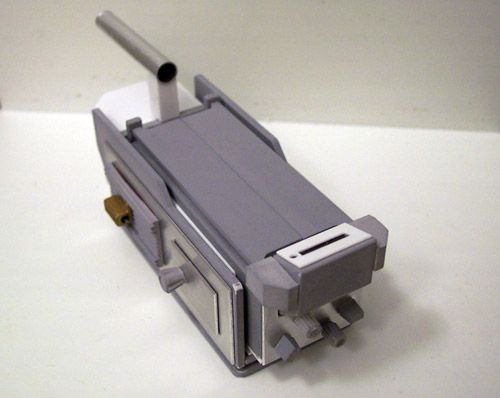
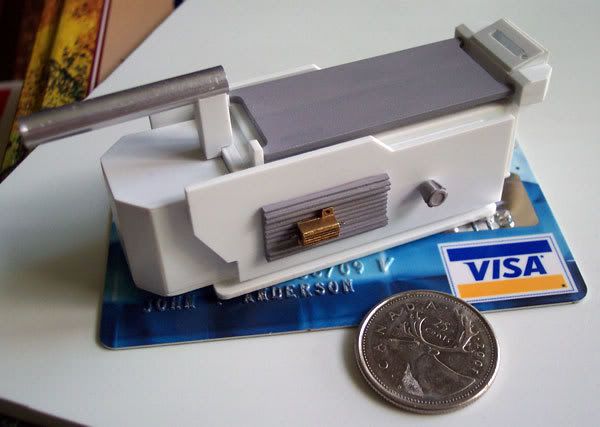
Way back in 2007 or 2008 (I forget when) I decided I was going to build a trap 100% from scratch, using no found parts. So I would make the knobs, Foster connector, resistor, Vector plate and everything from scratch. At the time I was testing my own hero trap plans (which have been abandoned now as I am FINALLY going to get started on accurate all aluminum hero traps).
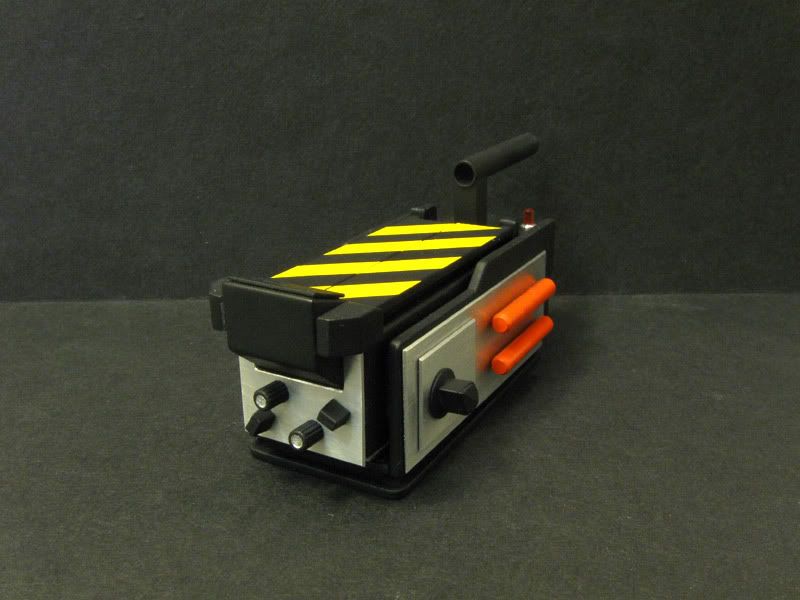
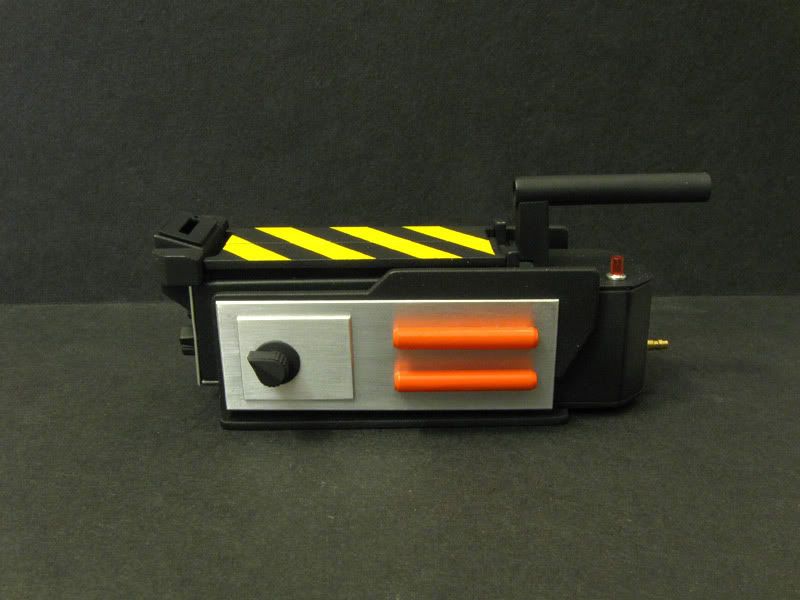
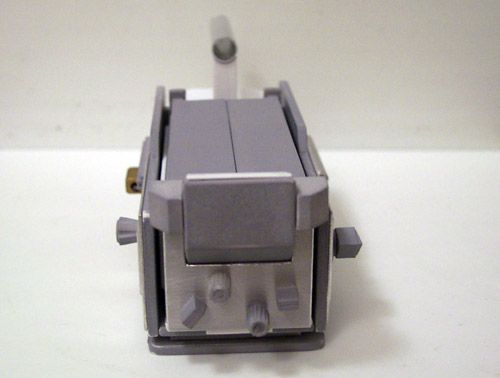
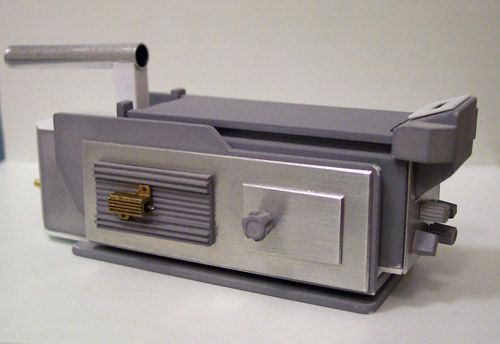
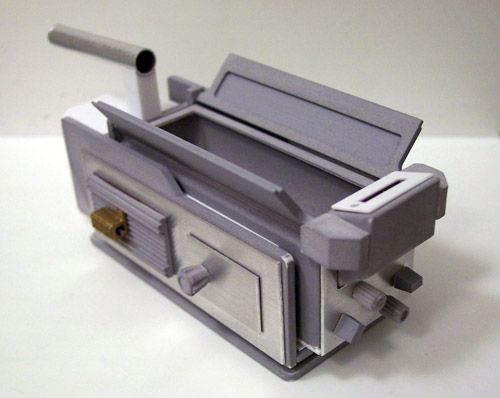
The trap was never 100% completed and everything is just held together with double sided tape, though I did finally paint most of it to show off at the Toronto Prop Parties the past few years.
So with that said, here are some pics!
![]()
![]()
![]()
![]()
![]()
![]()
![]()
![]()
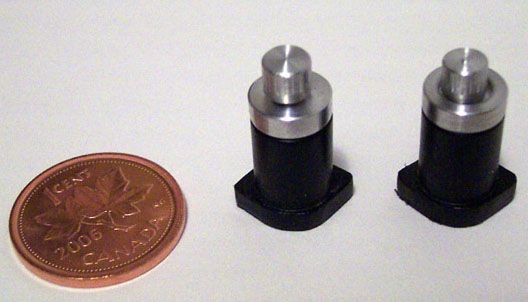
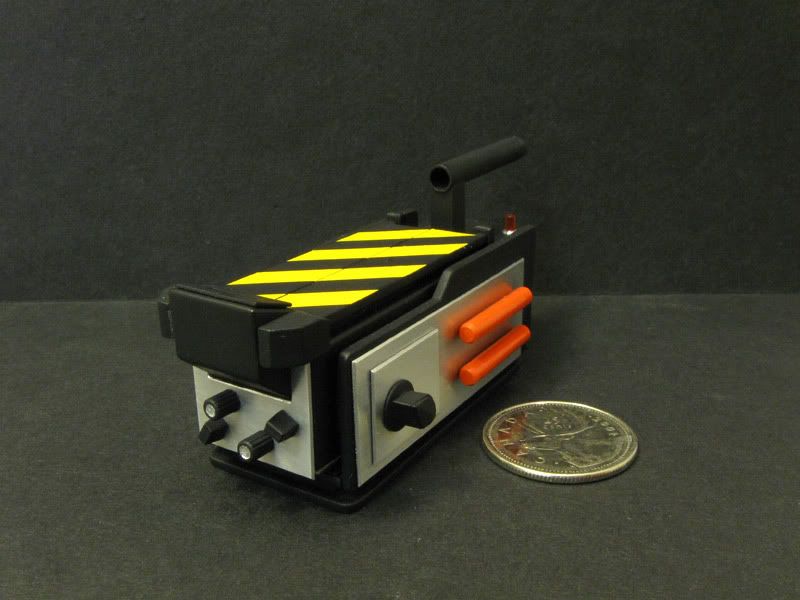
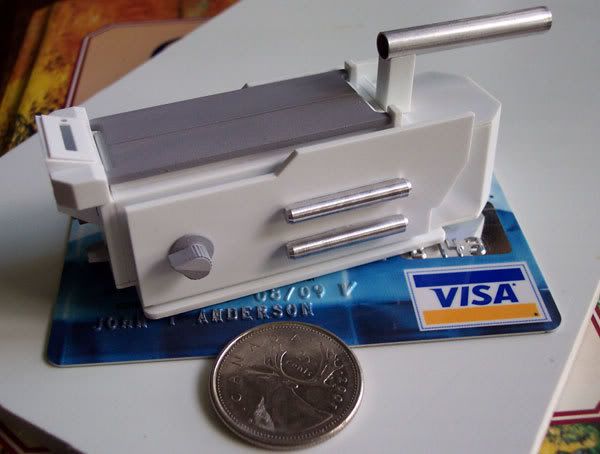
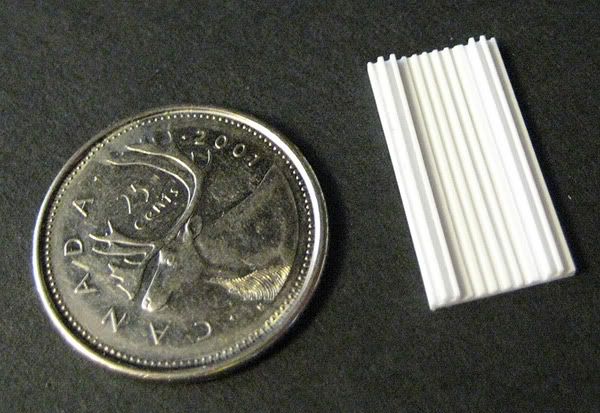
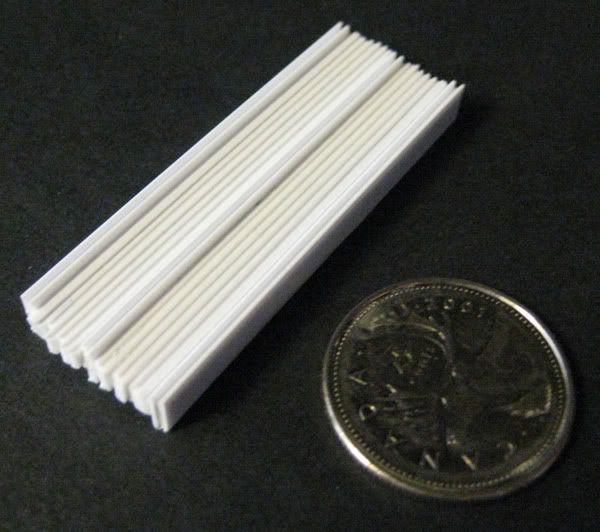
One point of possible interest is this...
It's 1:4 scale, the quarter is a pun as well as to show scale! ;)
![]()
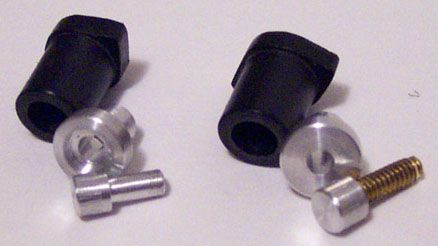
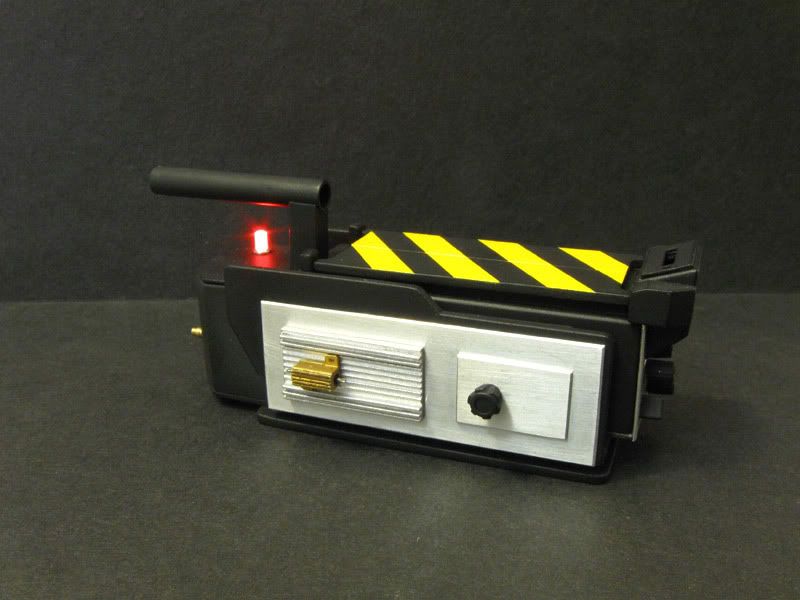
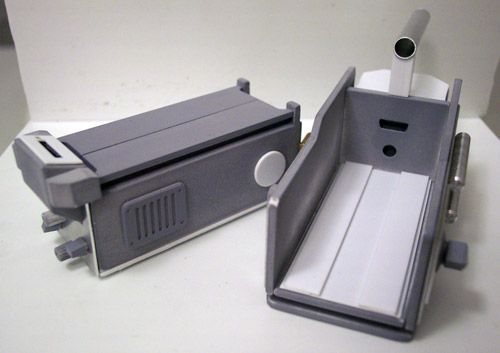
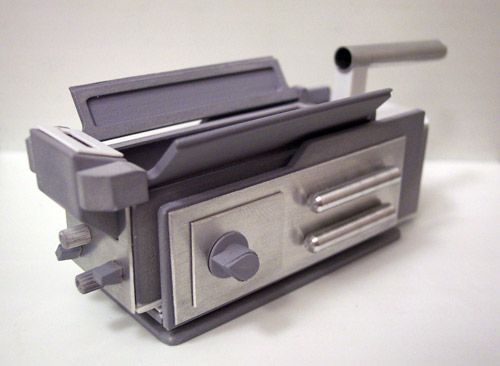
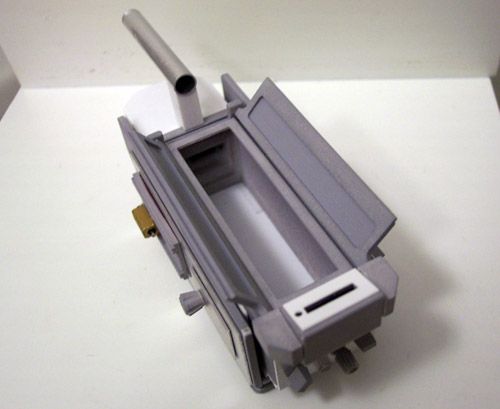
Here are some of the progress pics showing more of the details.
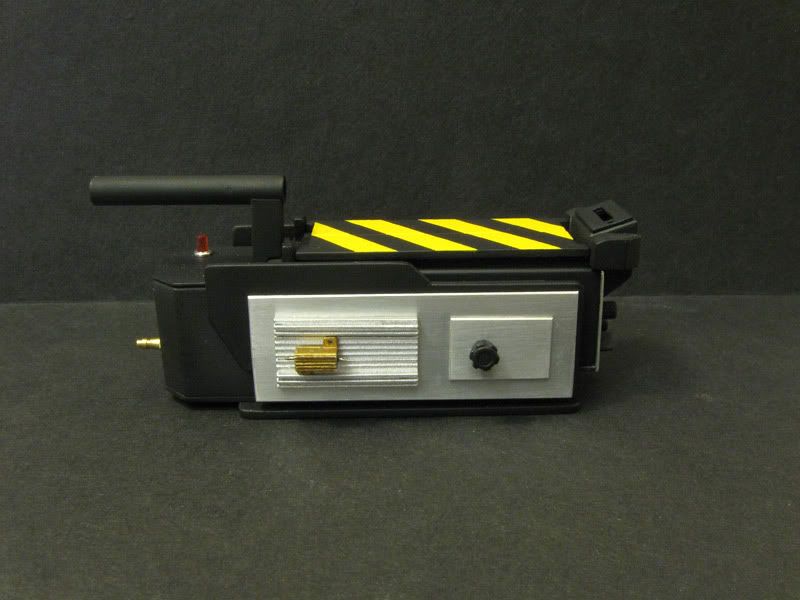
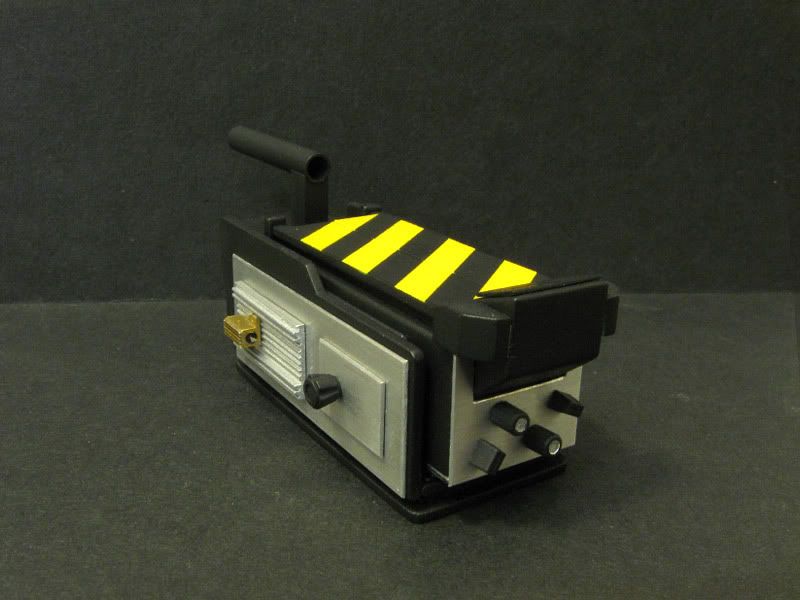
It's almost all styrene with the exception of the side rods, handle tube, and cosmetic plates which are aluminum.
I used appropriately scaled material thicknesses in 99% of it (cartridge walls are thicker).
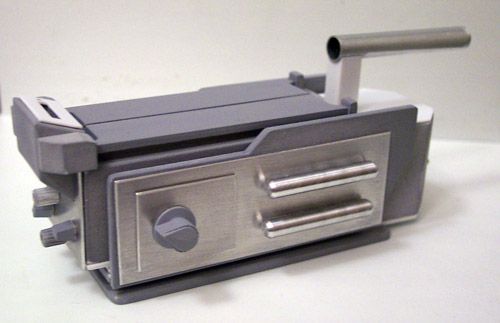
The LED is a 2mm blinking one crappy video of it blinking which has a magnetic reed switch attached so when I put the trap on a magnet it blinks.
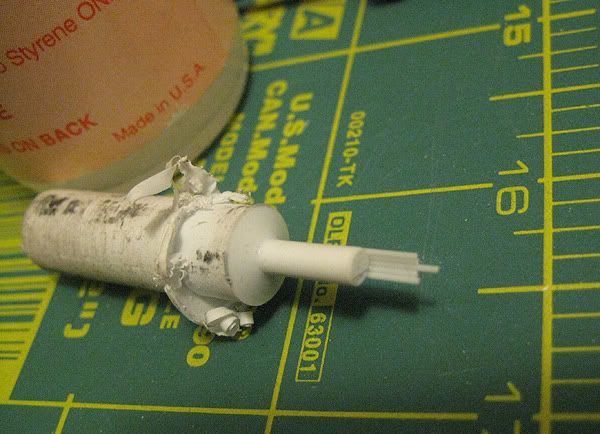
The Foster is made from a little brass bolt which was the correct size for the hex part and I turned some brass rod for the nipple part and glued them together.
![]()
![]()
![]()
![]()
![]()
![]()
![]()
![]()
![]()
![]()
![]()
![]()
![]()
![]()
![]()
![]()
![]()
![]()
![]()
![]()
![]()
![]()
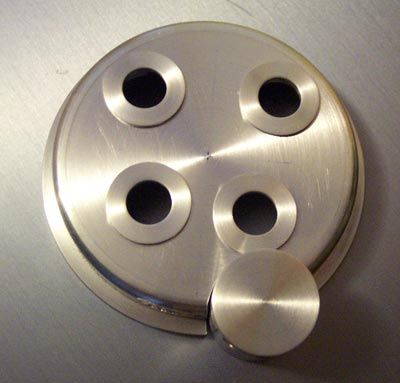
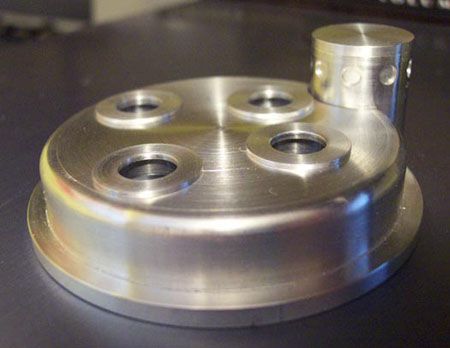
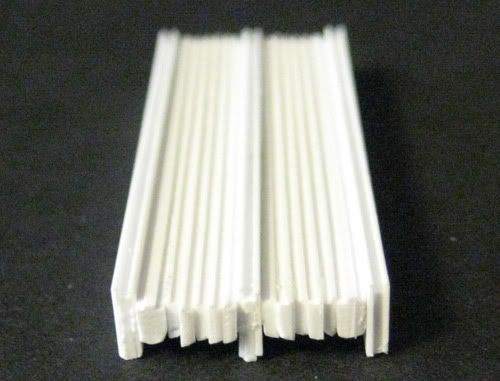
I didn't get many of the construction process but here's a pic to sort of show how I did both the vector plates and the resistor. Basically I milled layers of styrene to the right thickness for both a rib and a valley, milled a step along the edge, then stacked a crapload of them side buy side.
![]()
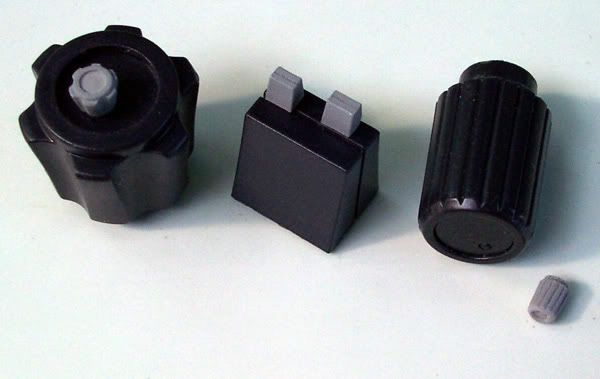
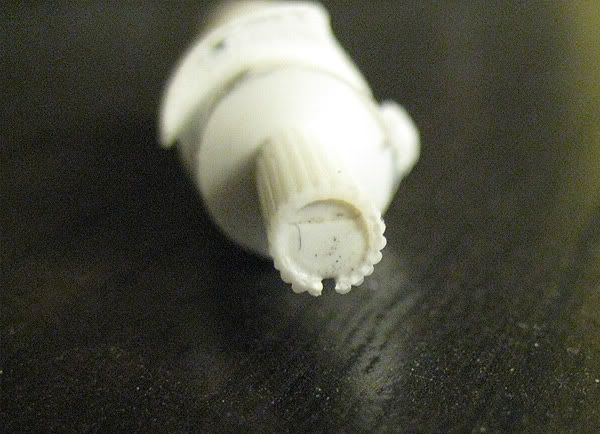
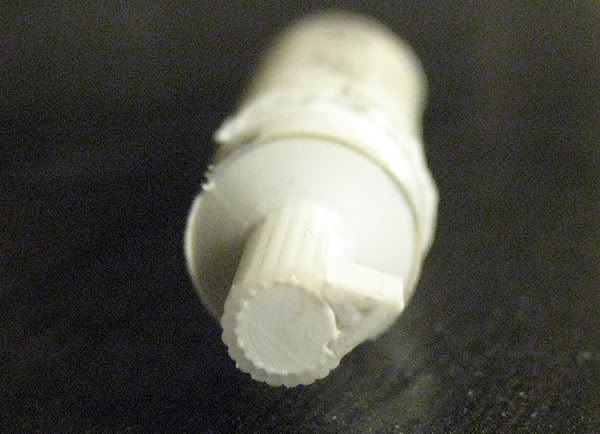
For the tear drop knob and the 2 round front knobs I did this process where I turned a piece of styrene rod down to the right diameter for the "inside" of the knob, then put a bunch of smaller rods around the outside.
![]()
![]()
![]()
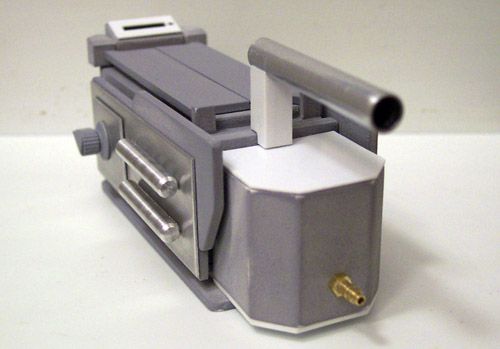
This trap was meant to go with another project which was started but not finished which I intend to return to soon!
![]()
![]()
![]()
![]()
![]()
![]()
![]()
![]()
The trap was never 100% completed and everything is just held together with double sided tape, though I did finally paint most of it to show off at the Toronto Prop Parties the past few years.
So with that said, here are some pics!
One point of possible interest is this...
It's 1:4 scale, the quarter is a pun as well as to show scale! ;)
Here are some of the progress pics showing more of the details.
It's almost all styrene with the exception of the side rods, handle tube, and cosmetic plates which are aluminum.
I used appropriately scaled material thicknesses in 99% of it (cartridge walls are thicker).
The LED is a 2mm blinking one crappy video of it blinking which has a magnetic reed switch attached so when I put the trap on a magnet it blinks.
The Foster is made from a little brass bolt which was the correct size for the hex part and I turned some brass rod for the nipple part and glued them together.


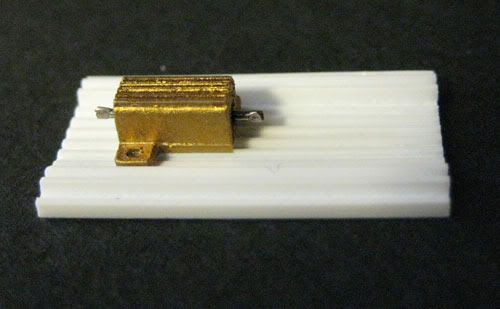
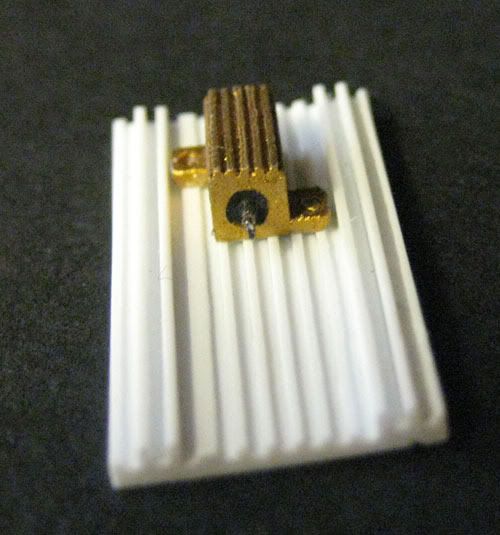

I didn't get many of the construction process but here's a pic to sort of show how I did both the vector plates and the resistor. Basically I milled layers of styrene to the right thickness for both a rib and a valley, milled a step along the edge, then stacked a crapload of them side buy side.
For the tear drop knob and the 2 round front knobs I did this process where I turned a piece of styrene rod down to the right diameter for the "inside" of the knob, then put a bunch of smaller rods around the outside.
This trap was meant to go with another project which was started but not finished which I intend to return to soon!