And here we are.
I wish my story were more unique or interesting, but like most everyone here on the board, I've wanted a proton pack of my own for, well, my entire life. Literally. And, like most, I've tried my hand at builds over the years. Between my lack of wood-working skills and the unavailability of reliable info, the builds never got very far.
I kept up, though. It was a hell of a transition between Norm Gagnon's old plans and actual measurements from screen-used packs. High school Aaron could have never imagined fiberglass shells being offered en mass.
So, when high-quality aluminum parts finally made it on to the scene, I figured it was time to jump back in. It was time to finally have what four year old me could only dream of.
A few things had changed since my last build attempt. First of all, I was no longer struggling with Algebra II homework, and secondly...I'd met a woman. Well, not just A woman. I'd met THE woman. A ring was still a little down the road but I knew it was coming.
With that in mind, I approached my build as a kind of last hurrah. Sort of a metaphorical end to the stuff I wanted as a kid.
Dumb. Just a dumb notion. But, hey, it sounded good at the time.
I got my name on Umori's list for thrower parts and the game was on.
During the wait for everything, I started in on the hardest decision a Ghosthead building a pack has to make: hero or semi-hero? Of course, each has their draw. The hero is iconic. Its look and ingenuity are still revered. The semi-heros took all of that and built on it in several ways. I love those Makita batteries. Sue me.
In the end, I went with both. A hero approach to a semi-hero pack. All the aluminum of a hero with the looks of a semi. It's a thing.
It took a couple of years, but eventually everything was in hand, and construction started. It was nerve-racking. I was certain I was going to mess a part up. I was convinced I wasn't doing anything as it was supposed to be. And I probably wasn't. But it all turned out fairly well.
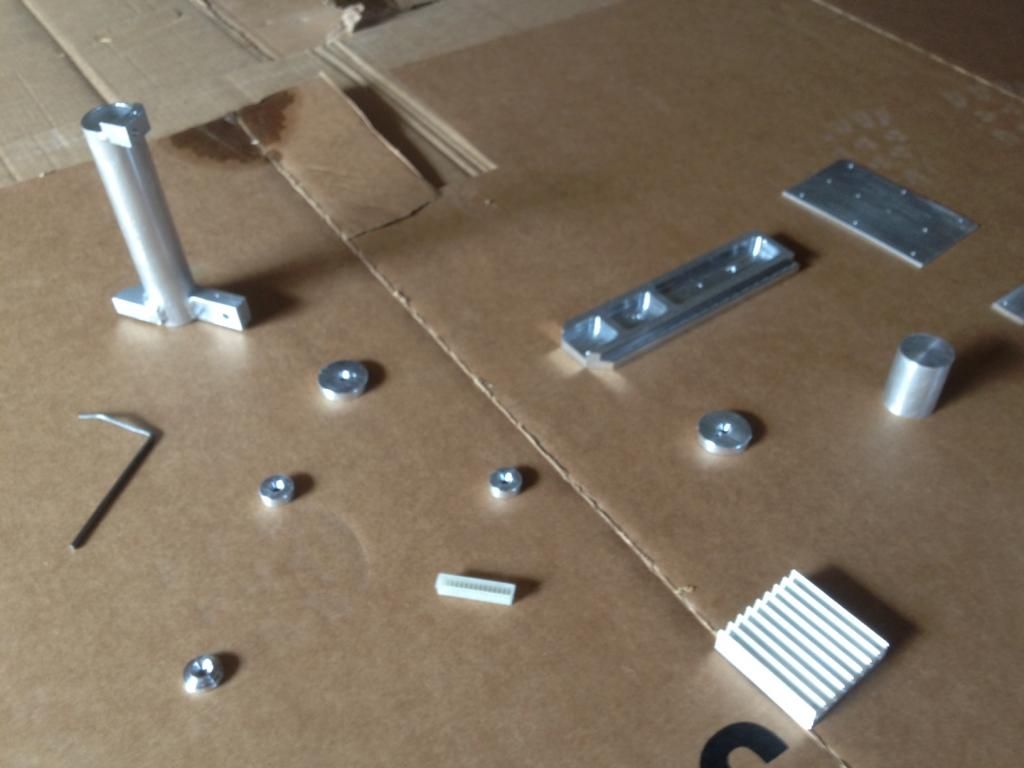
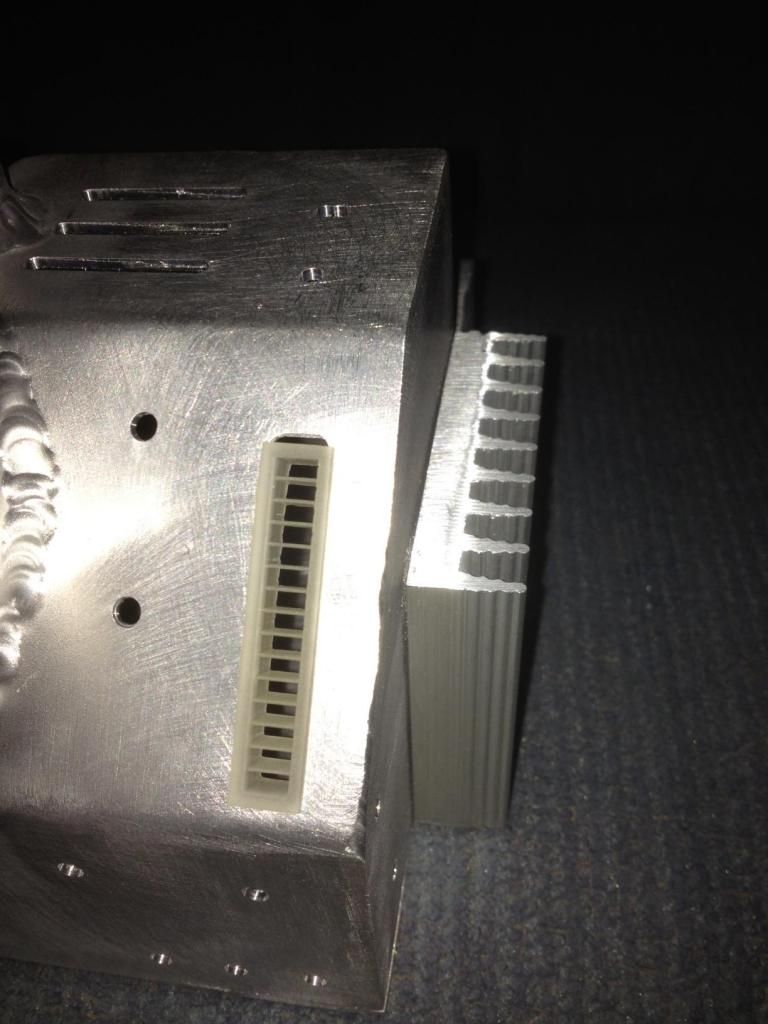
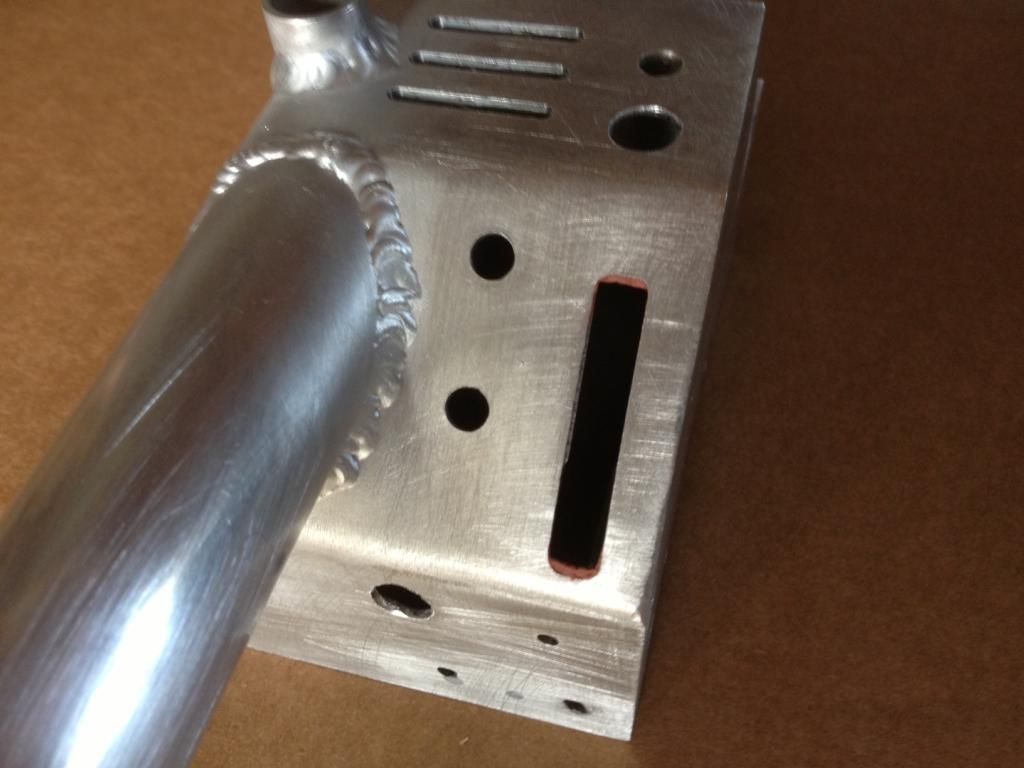
Raw Materials:
![]()
![]()
![]()
![]()
![]()
![]()
There was a spacing issue for the light bar. We'll get to it.
![]()
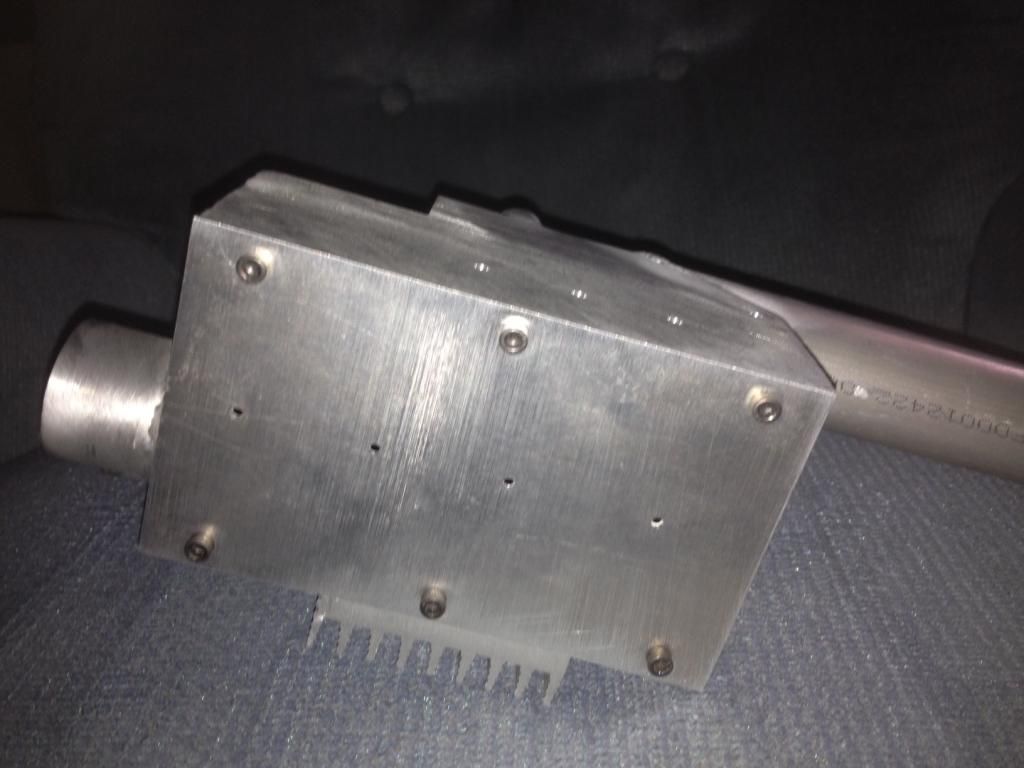
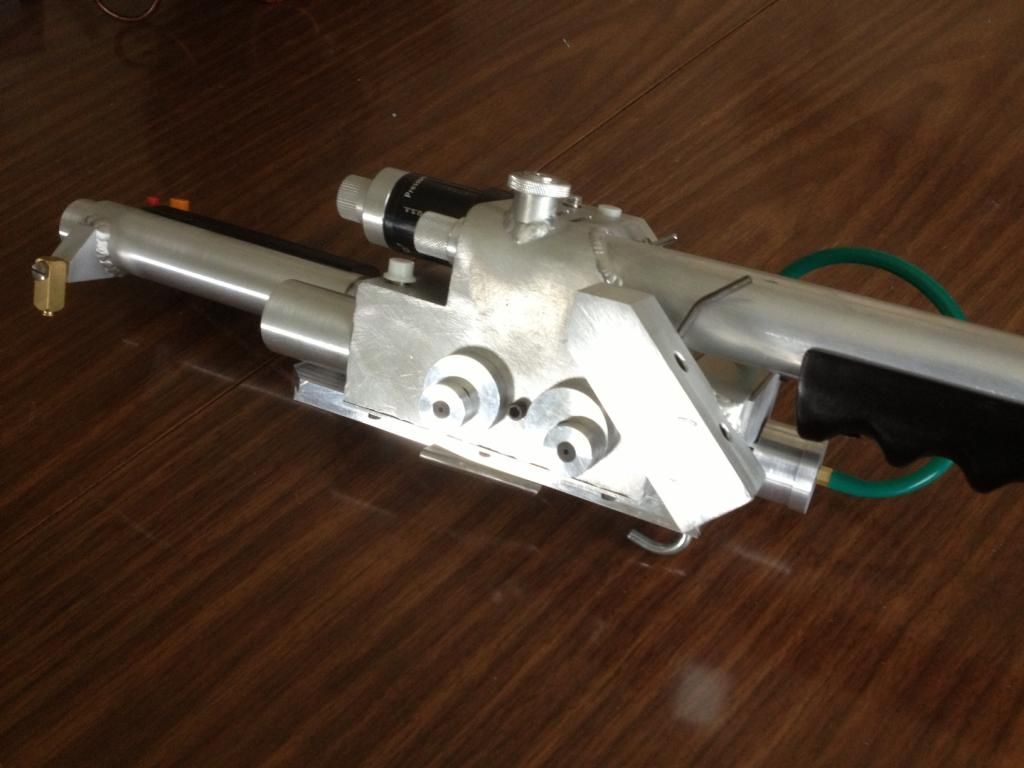
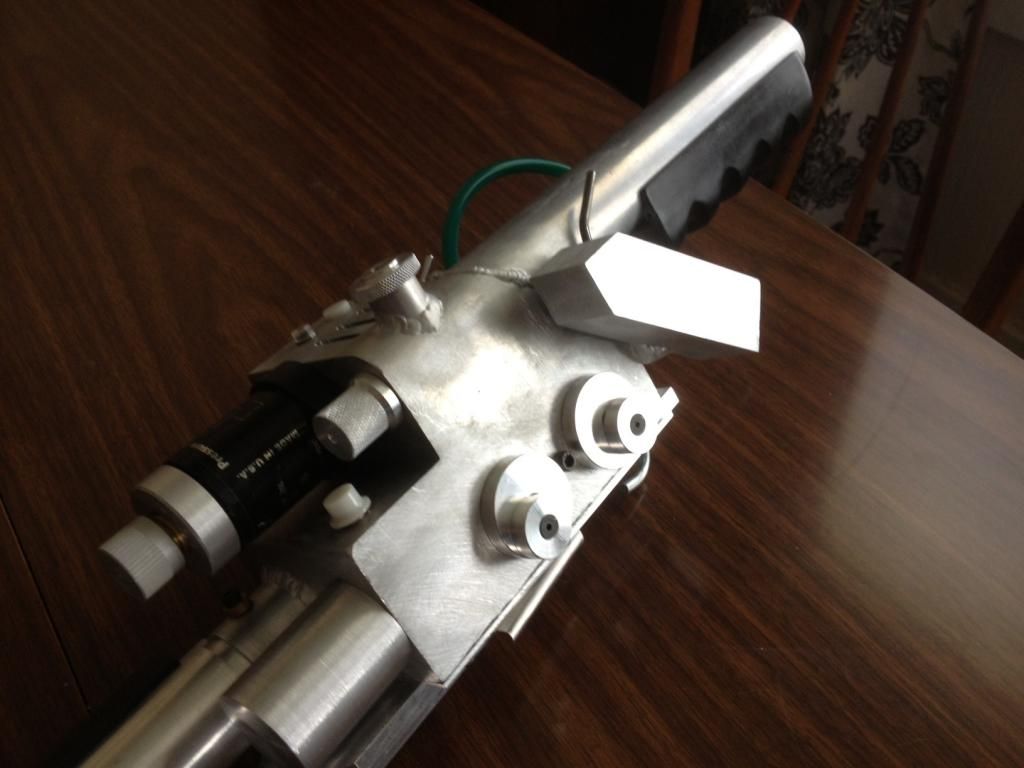
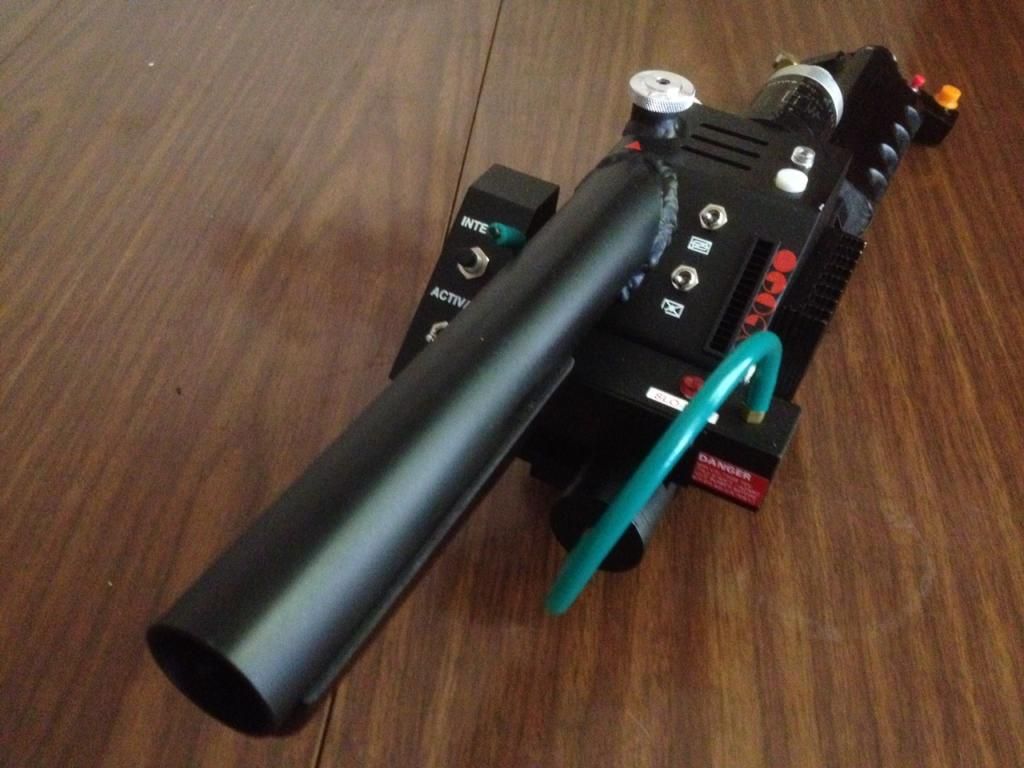
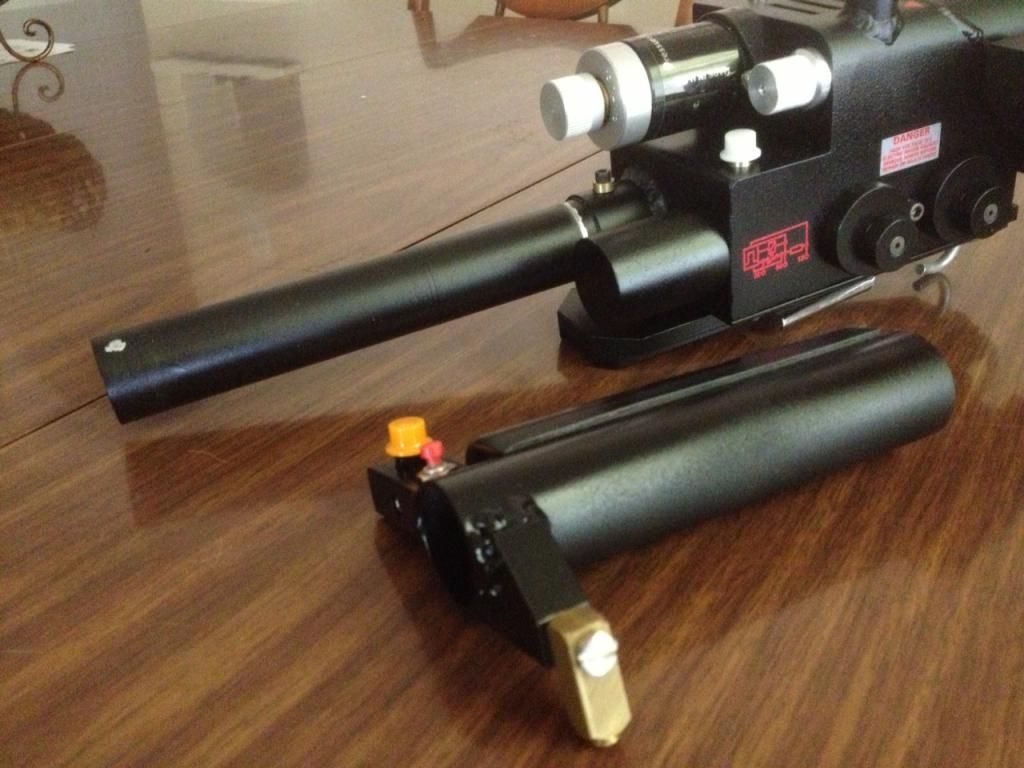
Dry fit:
![]()
![]()
![]()
![]()
![]()
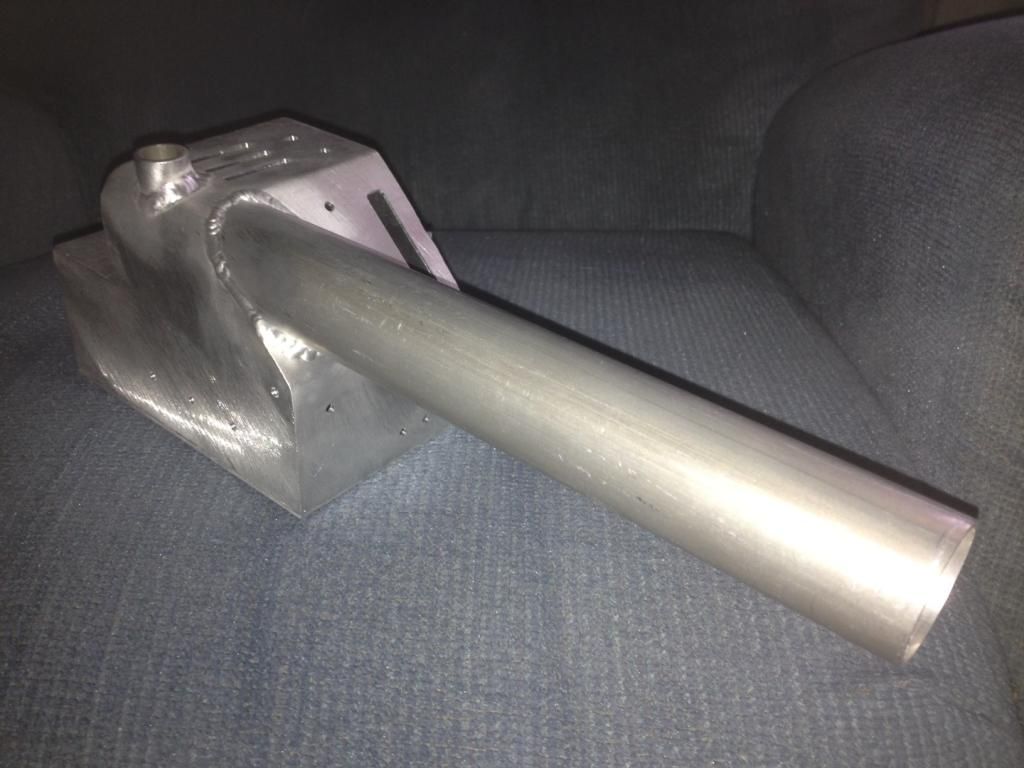
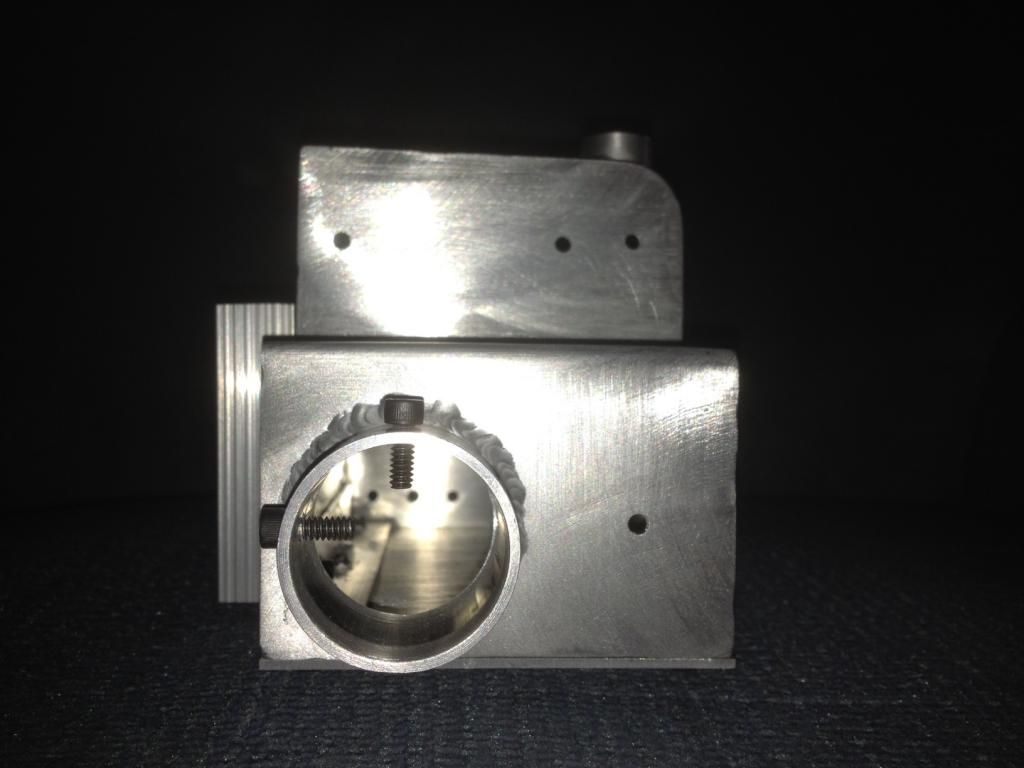
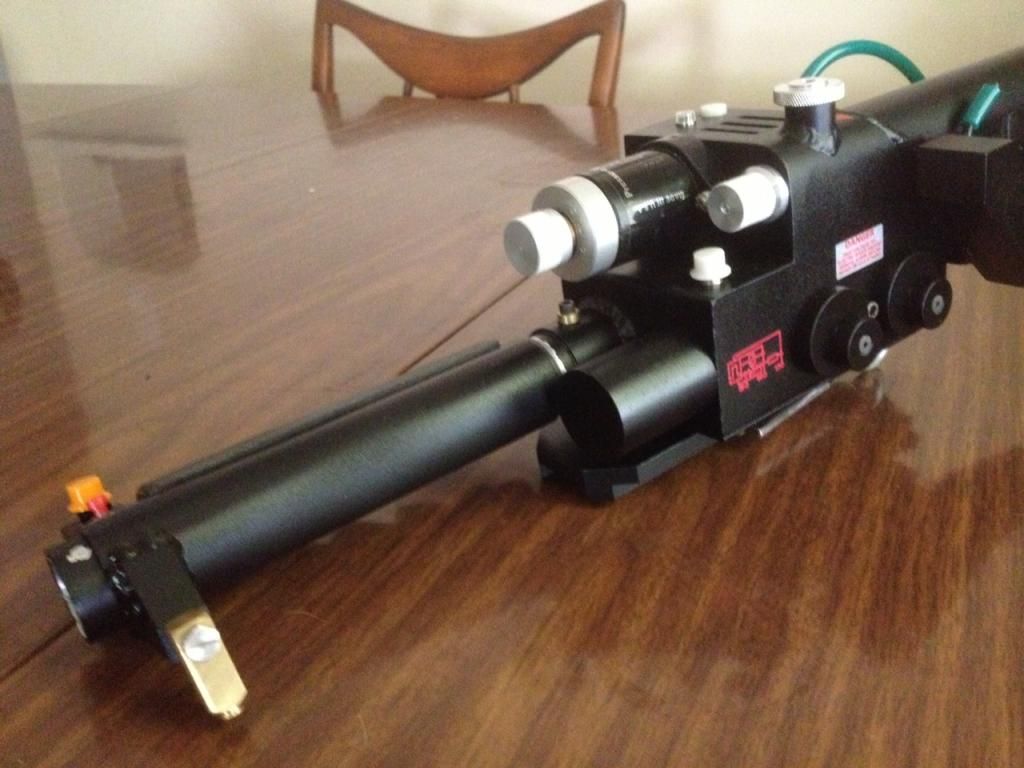
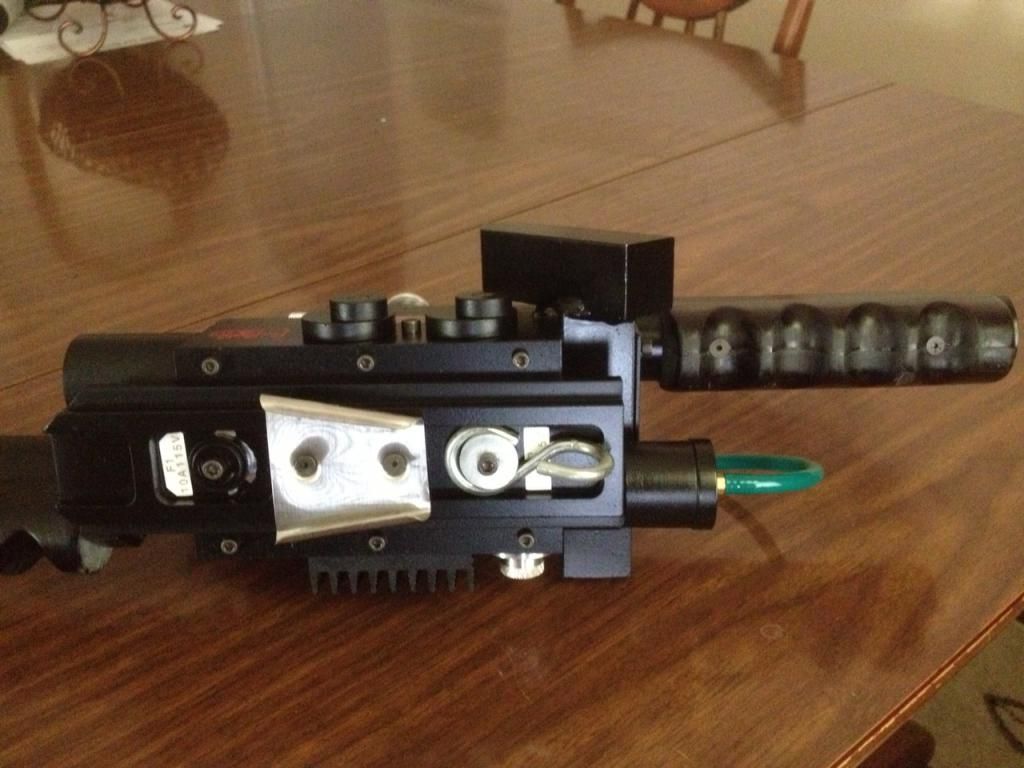
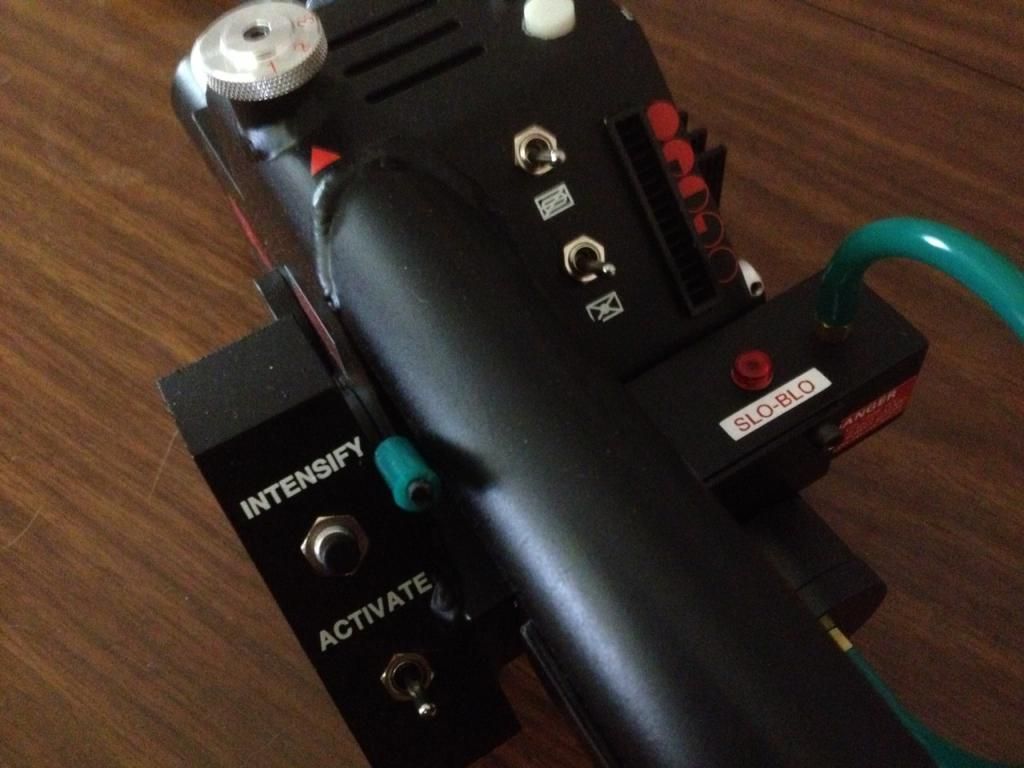
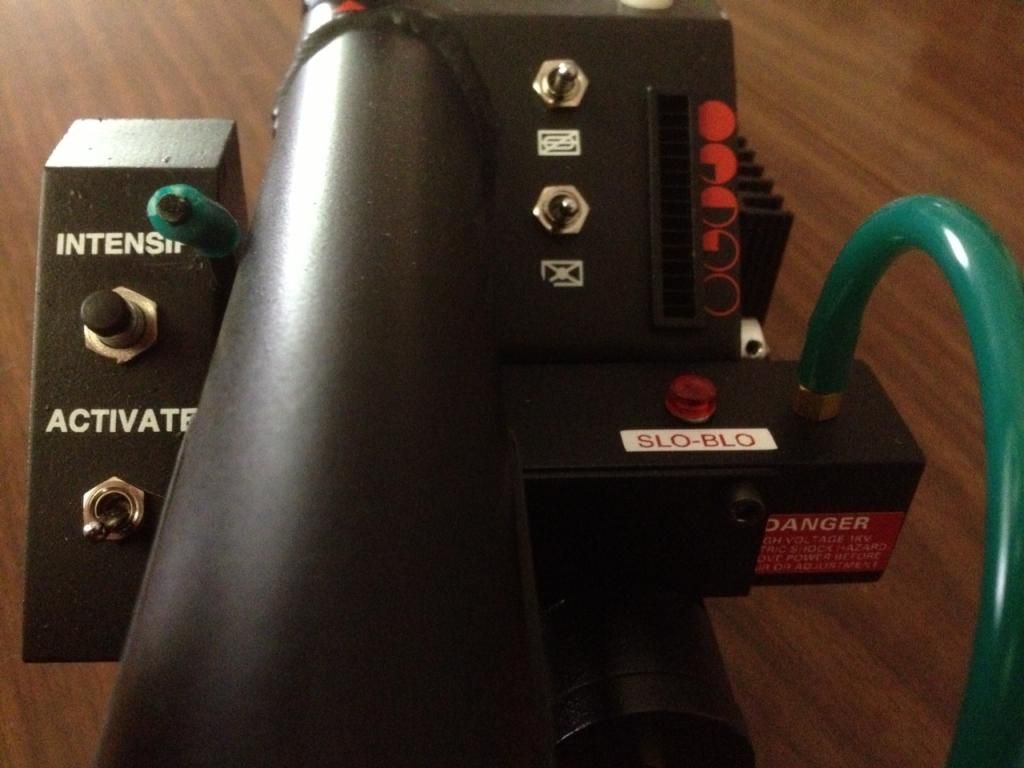
Finished:
![]()
![]()
![]()
![]()
![]()
![]()
![]()
![]()
![]()
![]()
I'm still trying to figure out how to do the tip-springing mechanism along with the rotating handle action, so my front handle can still do this...
![]()
I appreciate any critiques and comments. Rip this bitch apart.
- Aaron
I wish my story were more unique or interesting, but like most everyone here on the board, I've wanted a proton pack of my own for, well, my entire life. Literally. And, like most, I've tried my hand at builds over the years. Between my lack of wood-working skills and the unavailability of reliable info, the builds never got very far.
I kept up, though. It was a hell of a transition between Norm Gagnon's old plans and actual measurements from screen-used packs. High school Aaron could have never imagined fiberglass shells being offered en mass.
So, when high-quality aluminum parts finally made it on to the scene, I figured it was time to jump back in. It was time to finally have what four year old me could only dream of.
A few things had changed since my last build attempt. First of all, I was no longer struggling with Algebra II homework, and secondly...I'd met a woman. Well, not just A woman. I'd met THE woman. A ring was still a little down the road but I knew it was coming.
With that in mind, I approached my build as a kind of last hurrah. Sort of a metaphorical end to the stuff I wanted as a kid.
Dumb. Just a dumb notion. But, hey, it sounded good at the time.
I got my name on Umori's list for thrower parts and the game was on.
During the wait for everything, I started in on the hardest decision a Ghosthead building a pack has to make: hero or semi-hero? Of course, each has their draw. The hero is iconic. Its look and ingenuity are still revered. The semi-heros took all of that and built on it in several ways. I love those Makita batteries. Sue me.
In the end, I went with both. A hero approach to a semi-hero pack. All the aluminum of a hero with the looks of a semi. It's a thing.
It took a couple of years, but eventually everything was in hand, and construction started. It was nerve-racking. I was certain I was going to mess a part up. I was convinced I wasn't doing anything as it was supposed to be. And I probably wasn't. But it all turned out fairly well.
|
Raw Materials:


There was a spacing issue for the light bar. We'll get to it.
Dry fit:

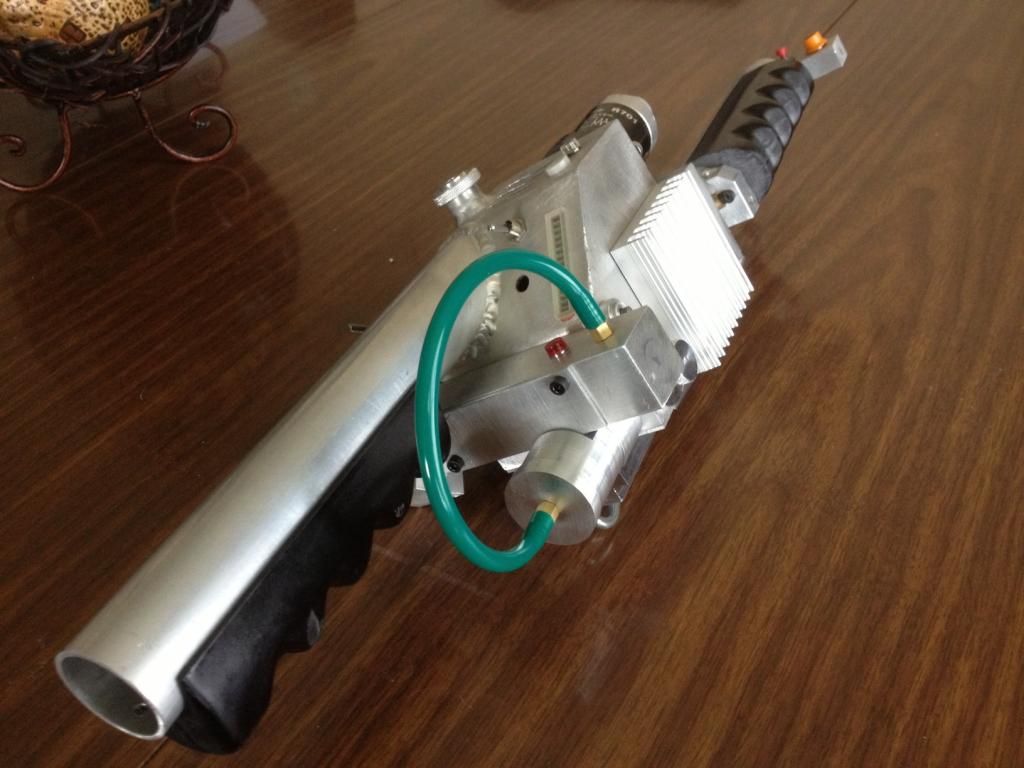
Finished:


I'm still trying to figure out how to do the tip-springing mechanism along with the rotating handle action, so my front handle can still do this...
I appreciate any critiques and comments. Rip this bitch apart.
- Aaron