Seems like I'm on a Star Wars kick these days! Maybe it's because my employer just bought Lucasfilm. I always thought it would be cool to have a full size R2D2 so... here we go!
There's a lot of great information, including a very complete set of drawings for all the components over at the R2D2 Builders Group on Yahoo. From these drawings I modeled the Droid in Rhino and then reverse engineered it to work out the various individual parts that make up each component. For the most part I'm going to build it out of acyrlic and styrene, with some metal details. I'm not sure yet what I'll do for the metal dome, but that will be the last thing to do. I'm working from the ground up.
For now this will be a static prop, no radio control or bells and whistles. But I am leaving as much romm in the feet as possible in case I want to motorize him later.
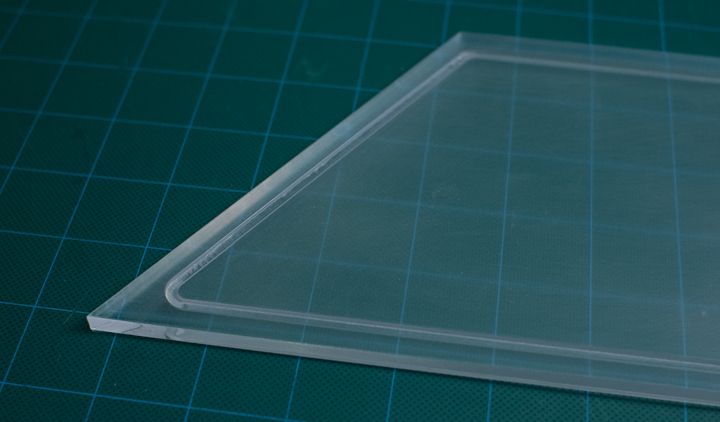
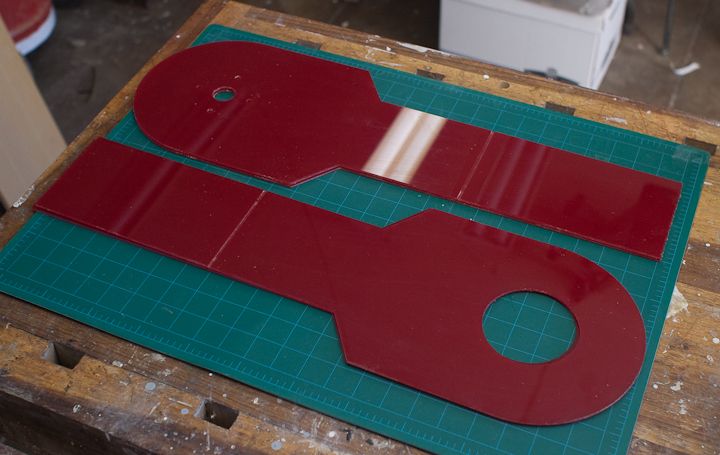
Here are the acrylic parts for one of the outer feet, with the protective paper still on. They were laser cut from 1/4 inch thick plexiglas.
Image may be NSFW.
Clik here to view.
The CNC router was used to cut the recessed groove in the outer panels.
Image may be NSFW.
Clik here to view.
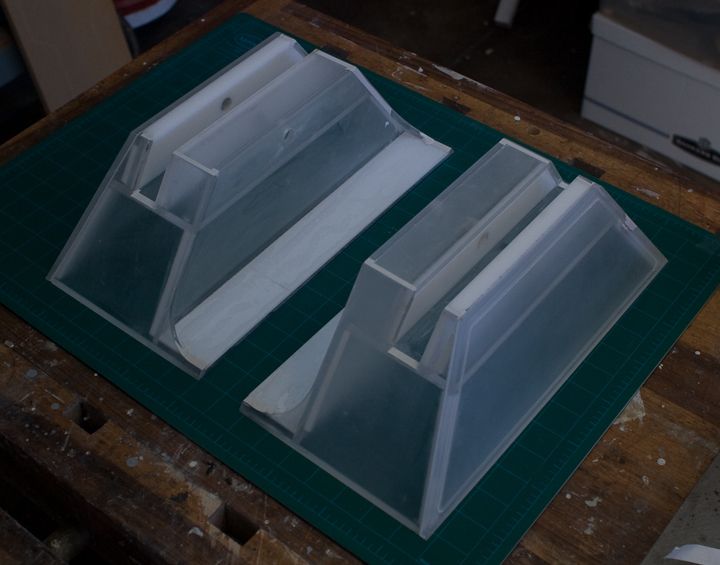
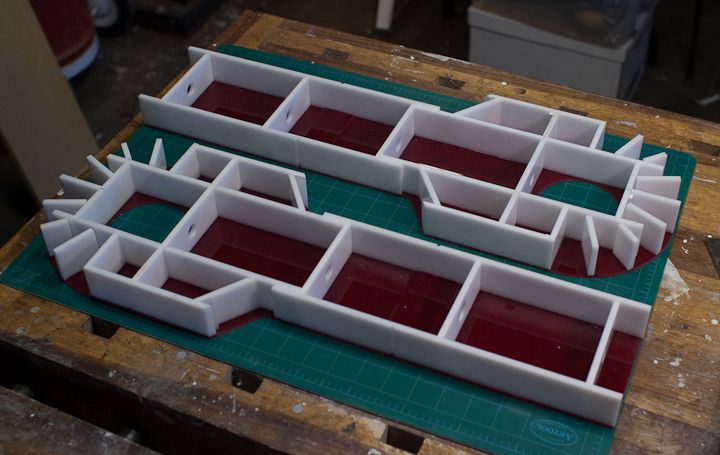
Here are the main bodies of the outer feet assembled.
Image may be NSFW.
Clik here to view.
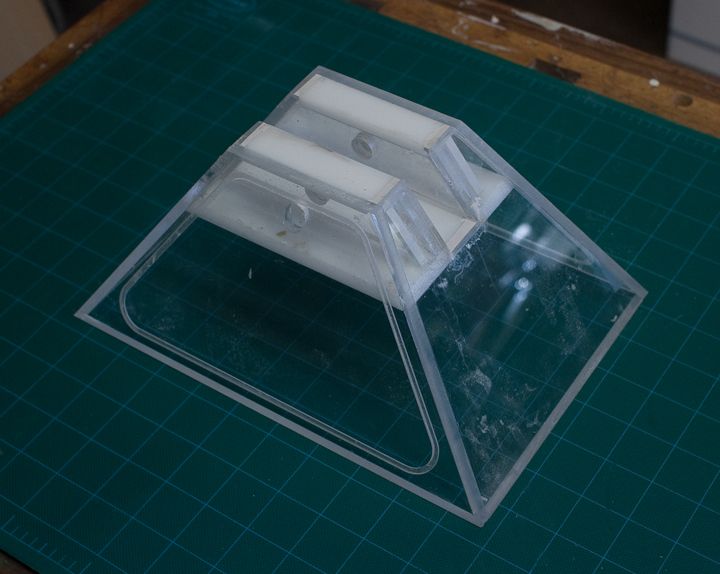
Ans the Center foot glued together.
Image may be NSFW.
Clik here to view.
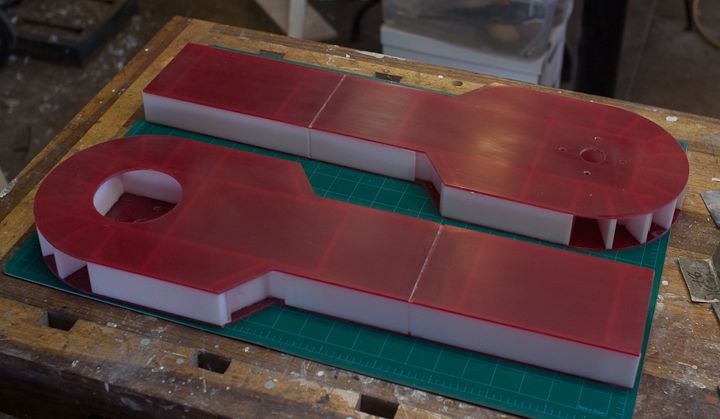
The side panels for the legs were cut from 1/8 plexigals and the CNC router. I used red plexiglass since it's what I had lieing around.
Image may be NSFW.
Clik here to view.
The center structure of the legs glued up out of 1/4 inch acrylic. I drilled holes in the center bulkheads should I need to run wiring through them at a later date for radio control.
Image may be NSFW.
Clik here to view.
And the other side panels glued in place.
Image may be NSFW.
Clik here to view.
There's a lot of great information, including a very complete set of drawings for all the components over at the R2D2 Builders Group on Yahoo. From these drawings I modeled the Droid in Rhino and then reverse engineered it to work out the various individual parts that make up each component. For the most part I'm going to build it out of acyrlic and styrene, with some metal details. I'm not sure yet what I'll do for the metal dome, but that will be the last thing to do. I'm working from the ground up.
For now this will be a static prop, no radio control or bells and whistles. But I am leaving as much romm in the feet as possible in case I want to motorize him later.
Here are the acrylic parts for one of the outer feet, with the protective paper still on. They were laser cut from 1/4 inch thick plexiglas.
Image may be NSFW.
Clik here to view.

The CNC router was used to cut the recessed groove in the outer panels.
Image may be NSFW.
Clik here to view.
Here are the main bodies of the outer feet assembled.
Image may be NSFW.
Clik here to view.
Ans the Center foot glued together.
Image may be NSFW.
Clik here to view.
The side panels for the legs were cut from 1/8 plexigals and the CNC router. I used red plexiglass since it's what I had lieing around.
Image may be NSFW.
Clik here to view.
The center structure of the legs glued up out of 1/4 inch acrylic. I drilled holes in the center bulkheads should I need to run wiring through them at a later date for radio control.
Image may be NSFW.
Clik here to view.
And the other side panels glued in place.
Image may be NSFW.
Clik here to view.